In this blog post, I'll be guiding you through the installation of the SQL Diagnostic Manager and the IDERA Dashboard in a trial environment. In the steps below, I'll use the default directories. Just something to keep in mind as you perform the installation in your environment.
Installing SQL Diagnostic Manager
The steps below will walk you through the installation of the SQL Diagnostic Manager trial.
- Download the installation kit (IderaSQLdmInstallationKit-x64.zip) from our website. You can register for a download at https://www.idera.com/productssolutions/sqlserver/sqldiagnosticmanager.
- Once you've IderaSQLdmInstallationKit-x64.zip, extract the content to the directory of your choice. Make note of the path used as we'll need to navigate to this path later to install the IDERA Dashboard.
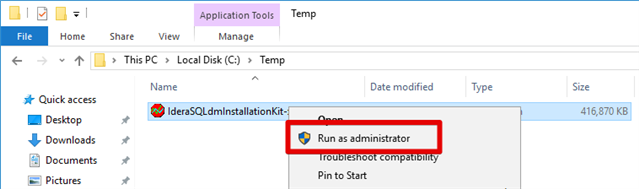
- Once extracted, run the IderaSQLdmInstallationKit-x64.exe file using the Run as administrator option found in the right-click menu.

- On the prompt that appears, click the Continue button to being the file extraction process.
- Specify a path where the installation files can be extracted to or you can use the default path then click OK to being the extraction.
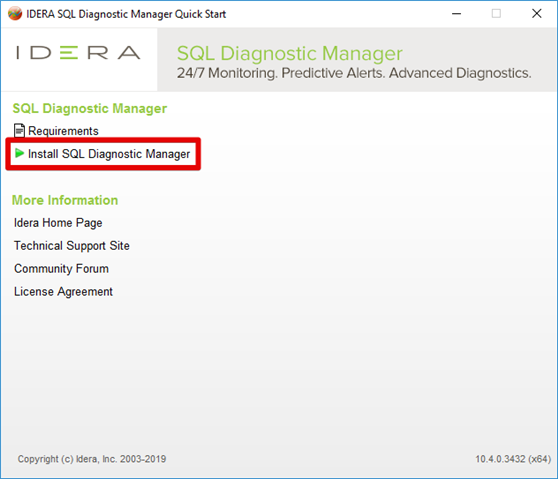
- Once the extraction process has completed, the IDERA SQL Diagnostic Manager Quick Start window will appear. Click the Install SQL Diagnostic Manager link.

- On the Welcome screen, click Next.
- On the End-User License Agreement screen, accept the terms and conditions then click Next.
- On the Customize your SQLdm Setup screen, make sure both options are selected then click Next.
- On the Service Account screen, provide credentials to be used by the SQLdm services then click Next.
- On the SQL Diagnostic Manager Repository Database screen, provide a SQL instance name on which the repository database will be hosted then click Next.
- On the Choose a destination folder screen, use the default path then click Next. If you receive a prompt about creating the path, click Yes.
- On the Ready to install screen, click Install to start the installation.
- Once the installation has completed, deselect the Launch Idera SQL Diagnostic Manager option then click Finish.
Check Registry Values
The steps below will check to see if the required registry values were created successfully. These registry values are required in order to successfully register SQL Diagnostic Manager into the IDERA Dashboard (which will be performed in a series of steps later). These registry values should have been created once the installation of SQL Diagnostic Manager had completed successfully.
- Press Win+R to summon the Run dialog box.
- Type "regedit" (without quotes) then hit the ENTER key.
- In the Registry Editor, navigate to HKEY_LOCAL_MACHINE\SOFTWARE\Idera\SQLdm.
- At this location, there should be values named ServiceAccount and ServicePassword.

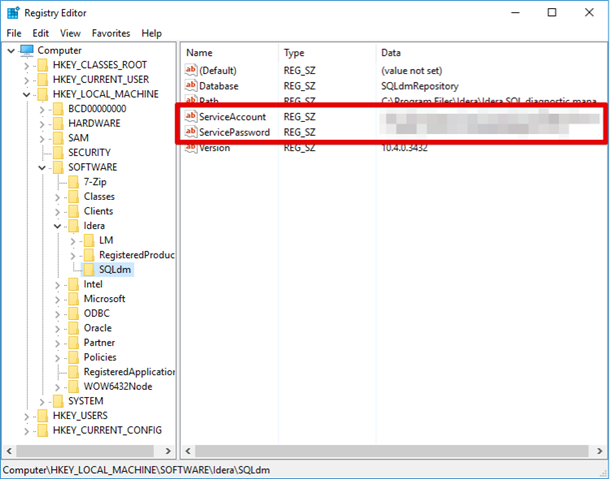
If these registry values exist and are populated, then you can proceed to the next section. If these registry values are missing or do not have any data values, then you'll need to uninstall SQL Diagnostic Manager and reinstall the product using the steps above.
Install IDERA Dashboard
In order to install the IDERA Dashboard in a trial environment, we'll need to manually run the MSI file. The IderaDashboard.msi file can be located within the C:\Program Files\Idera\SQLdm x64 Installation Kit\x64 (the path where we extracted files to when installing SQL Diagnostic Manager).
- Locate and run the IderaDashboard.msi file.
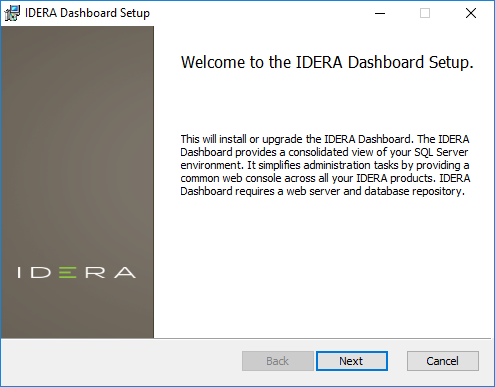
- On the Welcome screen, click Next.

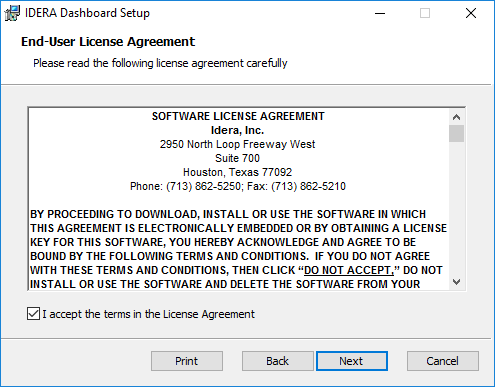
- On the End-User License Agreement screen, accept the terms in the license agreement then click Next.

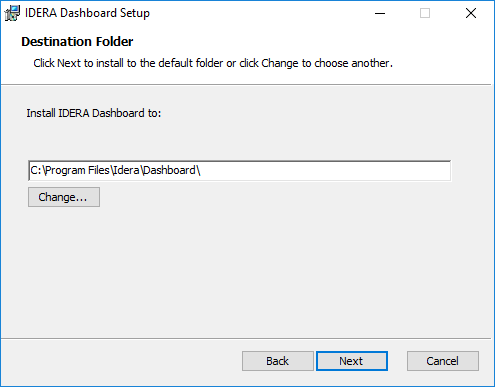
- On the Destination Folder screen, specify a path for the installation then click Next.

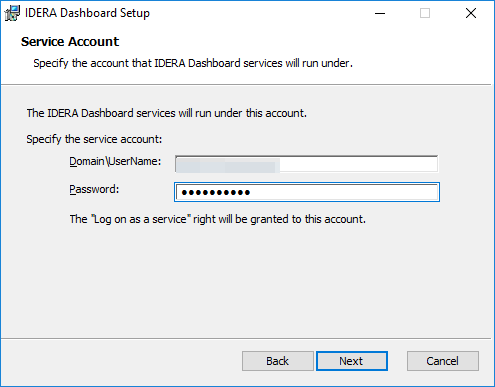
- On the Service Account screen, provide the credentials that are to be used by the IDERA Dashboard services then click Next.

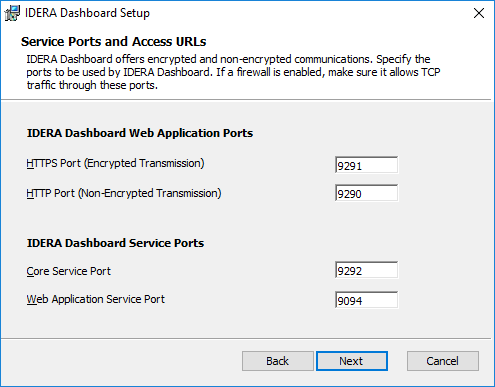
- On the Service Ports and Access URLs screen, make note of the ports used then click Next.

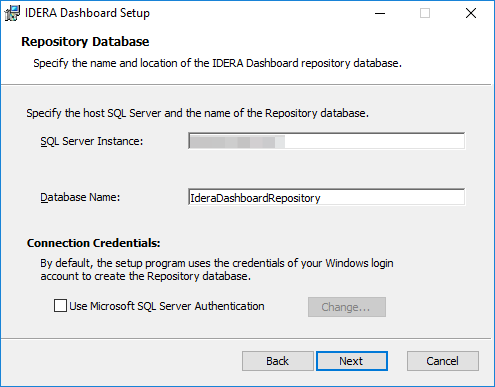
- On the Repository Database screen, supply the name of the SQL Server instance on which the IDERA Dashboard repository database will be hosted on then click Next.
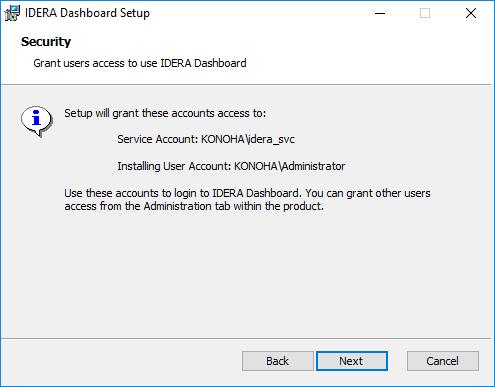
- The Security screen provides a summary of the accounts that will be used to perform the installation. Click Next to proceed.
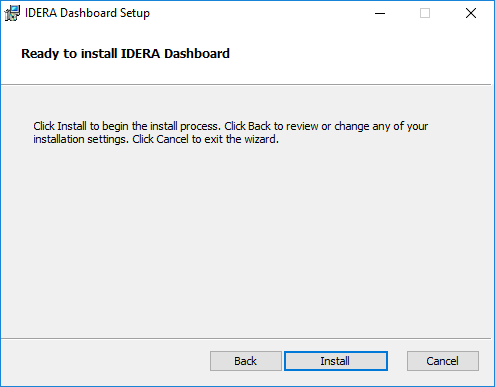
- On the Ready to install IDERA Dashboard screen, click Install to being the installation.

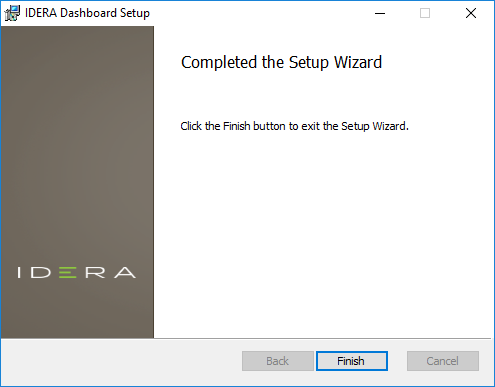
- Once the installation has completed, click Finish.

At this point, the installation of SQL Diagnostic Manager and the IDERA Dashboard have been completed. The next step will be to register the SQLDM product into the IDERA Dashboard which will be covered in the following section.
Register SQLDM in the IDERA Dashboard
In this section, we'll go over the steps to properly register SQL Diagnostic Manager in the IDERA Dashboard. In order to complete the registration successfully, the registry values noted above must exist on the system where the SQLDM services are installed. Once the product has been registered, then the SQLDM Web Console will be accessible.
- On the server where the IDERA Dashboard was installed onto, launch a web browser and navigate to the following URL: http://localhost:9290
- On the login screen, use the credentials of the IDERA Dashboard services to log in successfully.
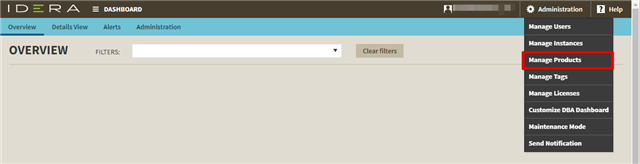
- Once logged in, go to Administration > Manage Products.

- Click the Register a Product link.

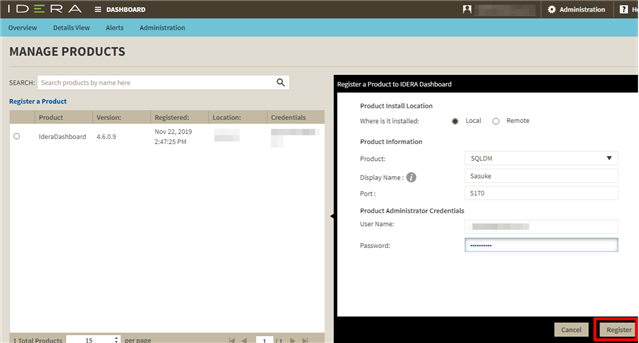
- On the registration form (which will be found on the right-side of the screen), you'll need to supply some values in order to register SQLDM. If you installed the IDERA Dashboard and SQLDM on the same server, proceed with the Local option. If the two products are installed on different servers, then you'll want to use the Remote option. The remote option will provide a few additional fields to fill but they are pretty straight forward. The fields listed below will be available for either option.
Product: SQLDM
Display Name: A name that will help you easily determine which installation of SQLDM. Generally speaking, I like to use the server name on which SQLDM was installed onto. It's important to note that space characters are not allowed.
Port: 5170
Username and Password: The credentials of an account that has admin rights to SQLDM. The service account used by the SQLDM services is typically a good option.Once the required fields have been entered, click the Register button at the lower-right.

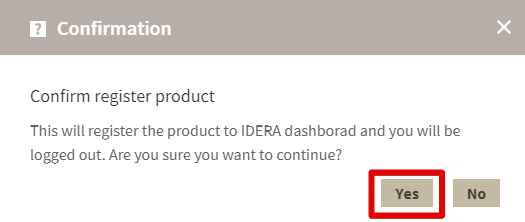
- Confirm that you want to proceed with the registration by clicking Yes.

- The registration, if successfully, will notify you that it completed. Click OK to proceed.
- The registration will automatically log you out of the IDERA Dashboard and return you to the login page. Go ahead and log back into the IDERA Dashboard.
- Once logged in, you'll be taken to Overview page. Click on the Dashboard text (next to the IDERA logo) and you'll be able to select SQLDM from the dropdown.


At this point, accessing SQLDM might not display any data as we have not yet registered any SQL Server instance to be monitored by SQLDM (at least if you followed the exact steps listed above). You'll need to register some servers to be monitored through the SQLDM Desktop Console before you'll be able to see any data in the SQLDM Web Console.
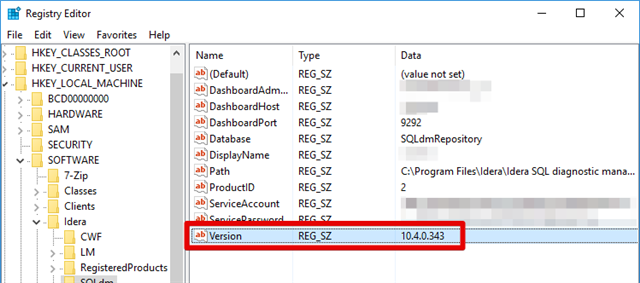
NOTE: If the version of SQLDM that you installed has 4 digits for the build number, such as 10.4.0.3432 or 10.5.0.3675, you'll need to perform a few additional steps listed which are listed below.
- Press Win+R to summon the Run dialog box.
- Type "regedit" (without quotes) then hit the ENTER key.
- In the Registry Editor, navigate to HKEY_LOCAL_MACHINE\SOFTWARE\Idera\SQLdm.
- Double-click on the Version registry value and change the data value from 10.4.0.3432 to 10.4.0.343 or 10.5.0.3675 to 10.5.0.367. In short, if the last section of the version number contains 4 digits, remove the last digit.

- In Windows Services, restart the Idera Dashboard Core Service (which will also require you to restart the Idera Dashboard Web Application service).
- Once the services are restarted, you should be able to access the SQLDM Web Console.
Closing
The information above should, generally, walk you through the process of installing the IDERA Dashboard and registering SQLDM in a trial environment. If you should run into any problems, please reach out and we'll assist you!
IMPORTANT:
If you have a pre-existing installation of the IDERA Dashboard, please make sure that it's compatible with the version of SQL Diagnostic Manager that is being installed. As of version 11.0, the IDERA Dashboard version should be 4.6.0.40. Otherwise, the registration will succeed but an error will be encountered when you try to access the SQLDM Web Console.