Connecting to Failover Group
So in Part 1 of this series, we created and configured our Failover Group. Well, now that the easy stuff is out of the way, let’s talk about how you connect to these groups via SSMS. This is where some of the confusion happens. When I first configured a Failover Group, the first thing I tried to do was connect to the Primary server via SSMS thinking it will work just like an Always On Listener in traditional SQL Server…NEWP! I got this lovely error when I tried:
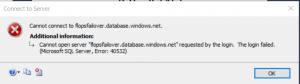
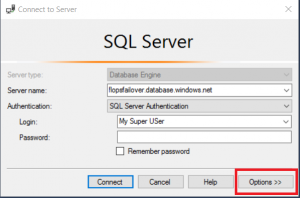
But, I know my username and password is correct because I can connect to either of my servers individually, so why am I not able to connect to the listener? Well, let’s look at this: When you create a SQL Login, where is that stored? The Master database. What database is not configured in our Failover Group/Cannot be configured in our Failover Group? The Master database. So, in order to connect to this with SSMS, you need to do the following, click the Options button on the lower right hand side of the SSMS connect window:
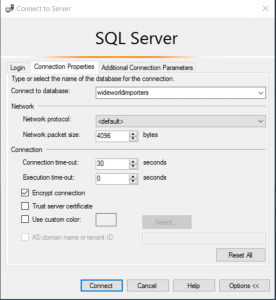
Once inside of the Options dialogue, in the “Connect to database” field, type one of the names of your databases that are inside the Failover Group. The login MUST exist as a user in the database, or it can be the Administrator account configured on install of your server:
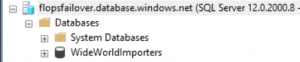
If successful, you should be logged into your instance, but see only the database you connected to, like the picture below:
Summary
So now that you are able to connect into your Failover Group, you can begin enjoying the peace of mind in knowing that your business critical applications are now safely Highly Available in Microsoft Azure! I hope you enjoyed this two part series!